|
|
re: From simple rotors to complex constructions: handles it all
 by JeremyRhish on Wed Dec 18, 2024 11:39 am by JeremyRhish on Wed Dec 18, 2024 11:39 am
with the Balanset-1A Device
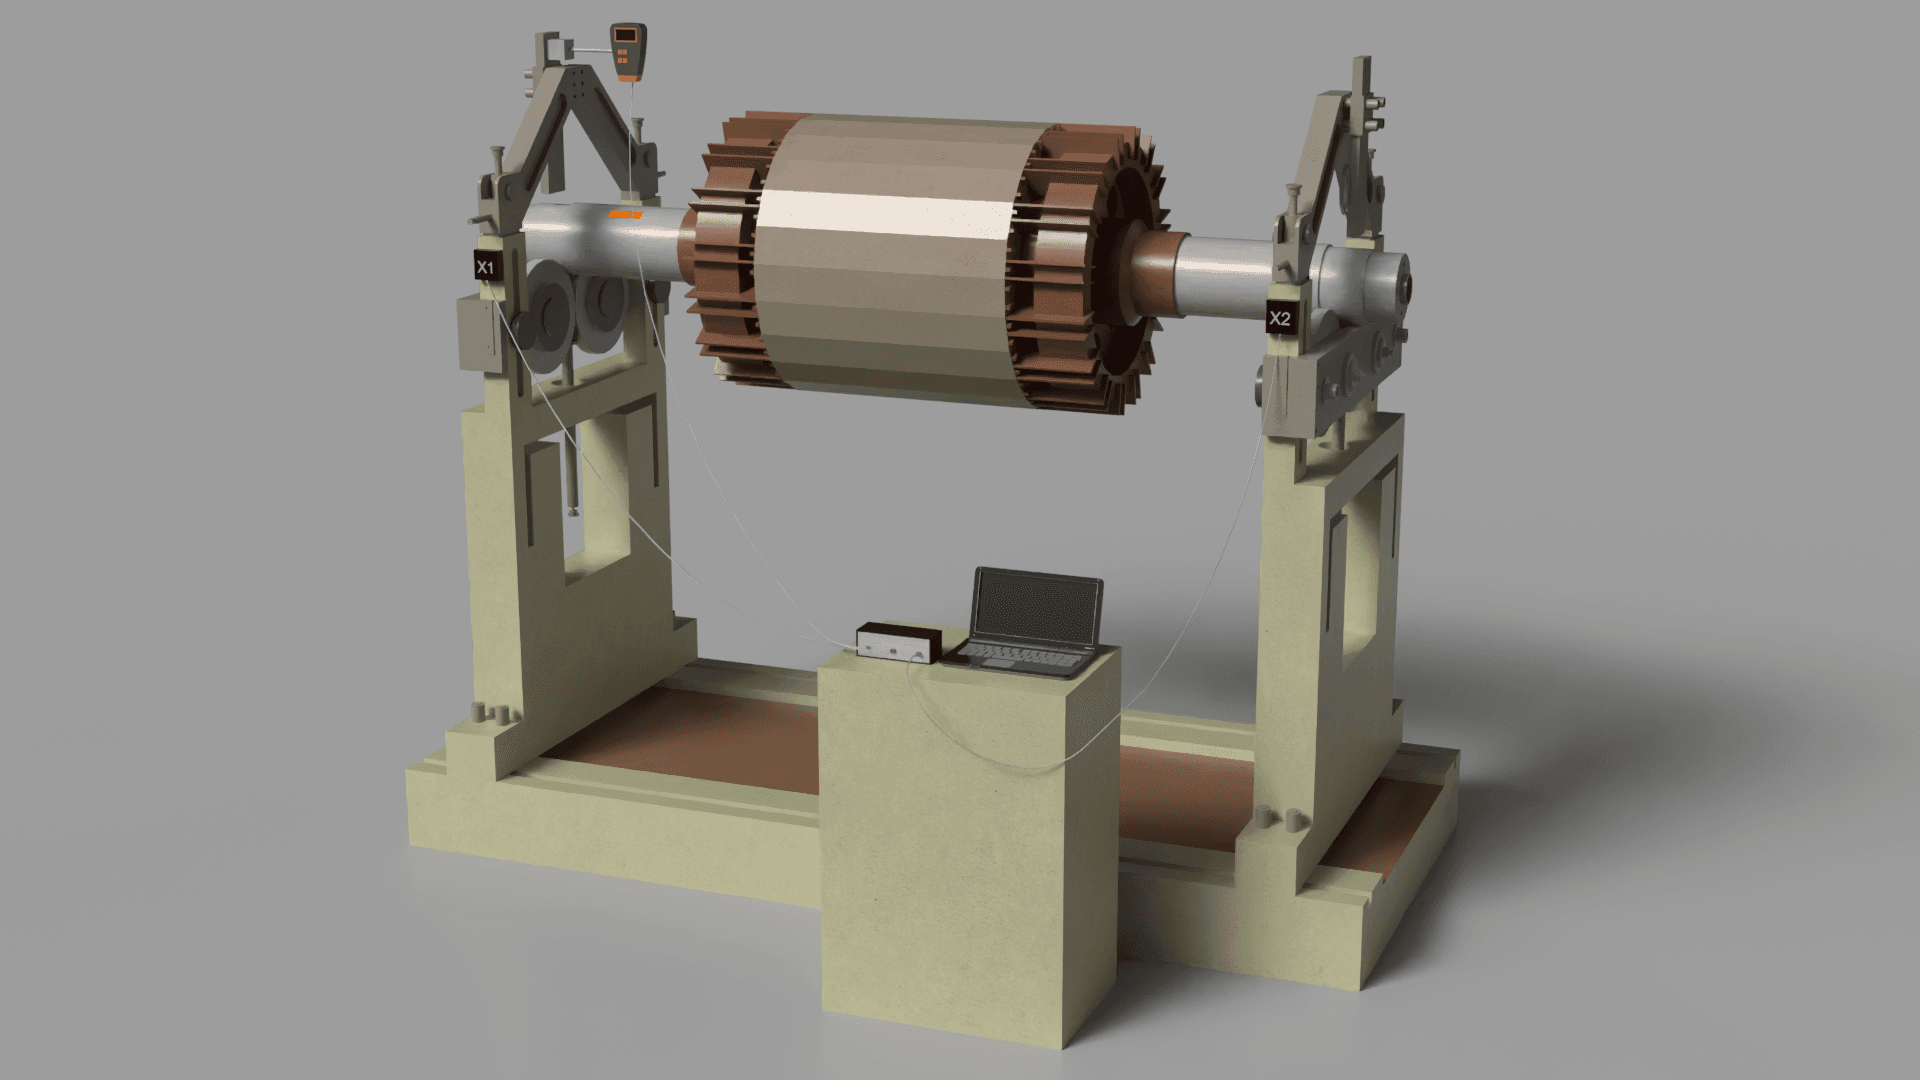
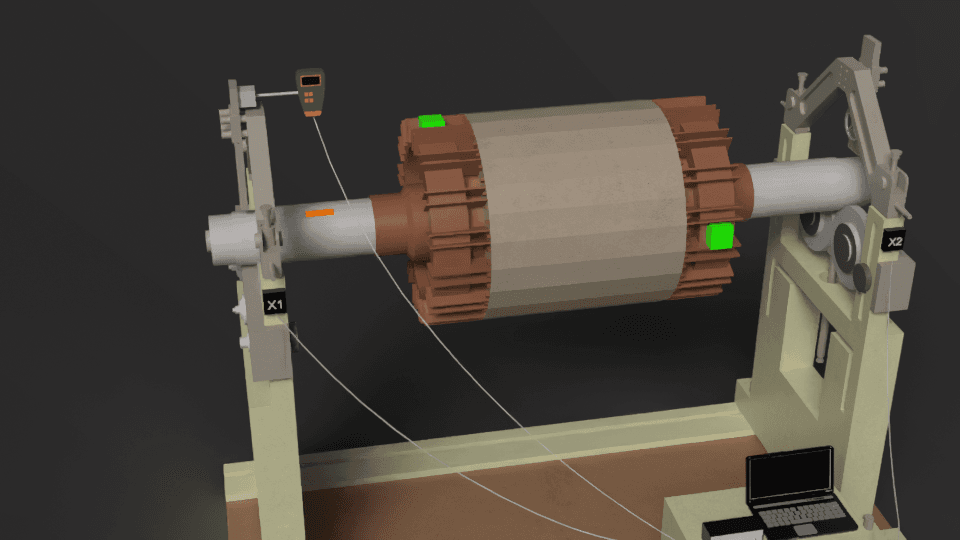
Getting the Equipment Ready
- vibration sensors, optical speed sensor, magnetic base, software package, and included accessories.
- Connect the device to your PC using the USB interface and confirm the software installation.
Setting Up the Sensors
- Attach the vibration sensors firmly to the machine casing in areas with the highest vibration amplitude, usually close to the bearing supports.
- Position the laser tachometer (phase angle sensor) so that it is aimed at the rotor. Attach reflective tape to the rotor for accurate phase angle reading.
Starting the Program
- Initiate the Balanset program on your computer.
- Configure the software for either single-plane or two-plane balancing, based on the rotor's characteristics and the desired outcome.
Taking Baseline Vibration Readings
- Operate the rotor at its intended working speed.
- The application will acquire data on vibration magnitude, rotational velocity, and phase angle to determine the initial imbalance state.
Trial Weight Installation
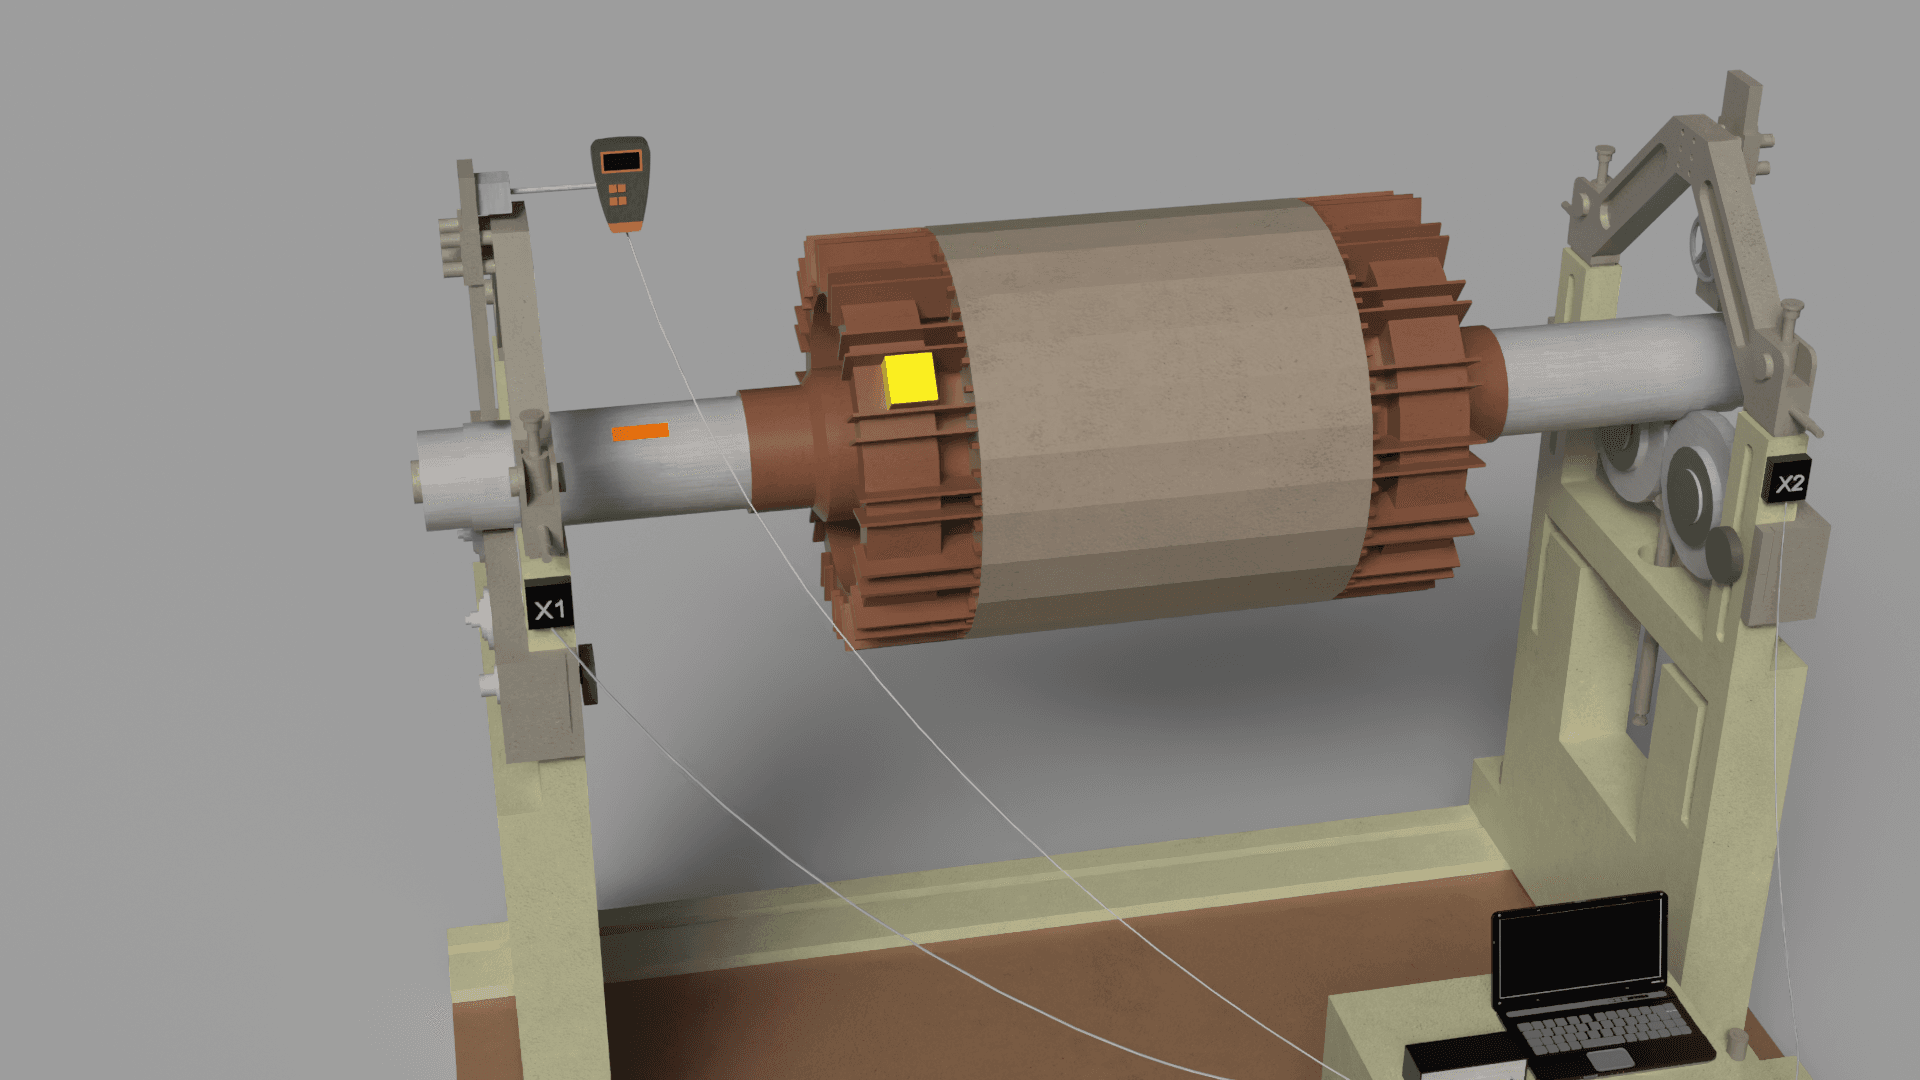
- Stop the rotor and attach a trial weight at a specific location on the rotor. The weight's mass can be specified within the software (e.g., in grams).
- Resume rotor operation, and the program will capture the resulting changes in vibration amplitude and phase.
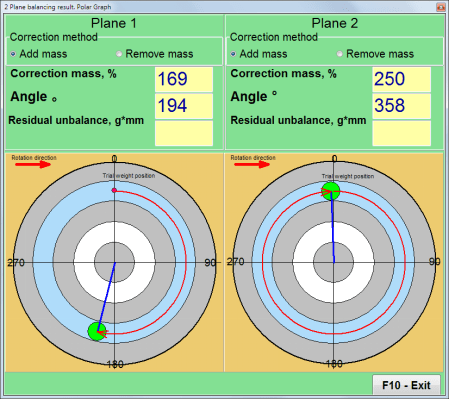
Calculating the Correction Weight
- Based on the measured data, the software automatically calculates the correction weight parameters: mass and installation angle.
- The calculated values are presented on-screen in both numerical and graphical formats.
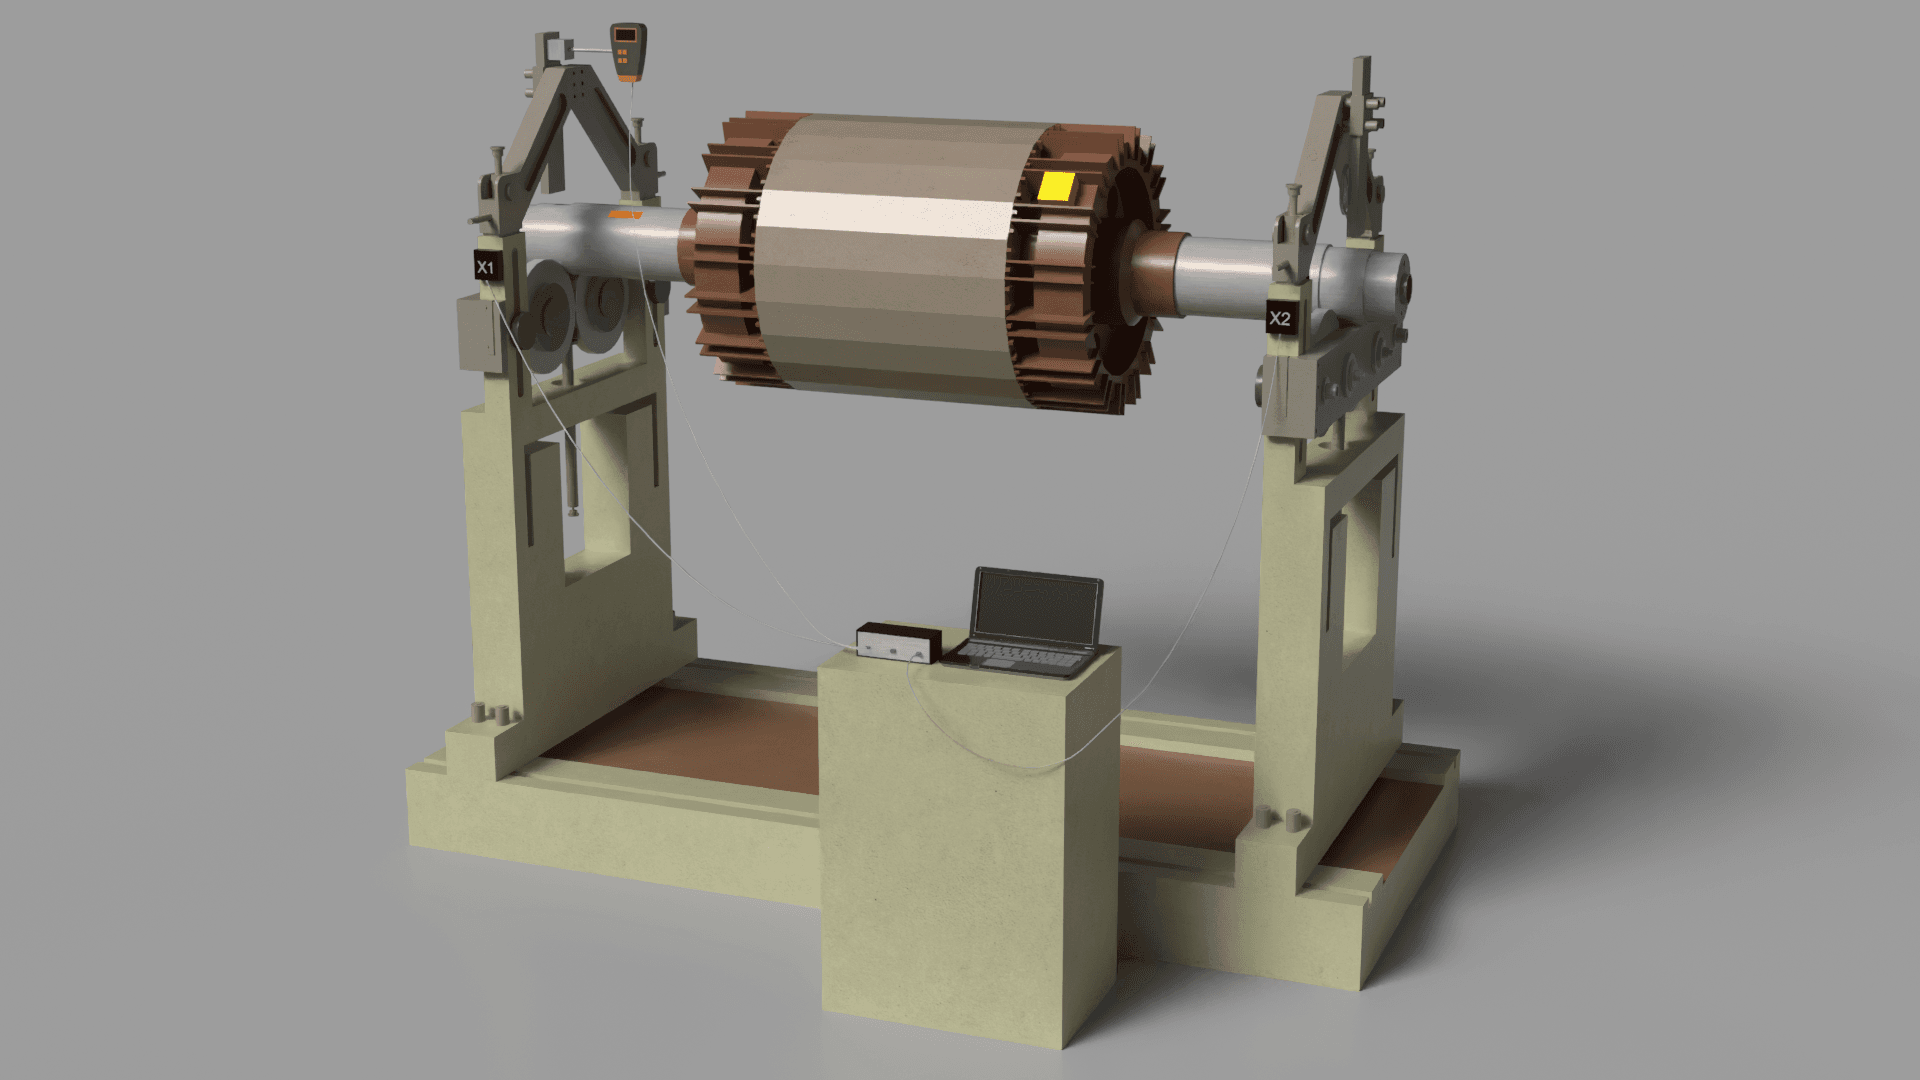
Mounting the Compensating Weight
- Attach the computed compensating weight to the rotor as indicated by the software's output.
- If necessary, perform intermediate checks to verify that the imbalance is being reduced.
Final Check and Balance Confirmation
- Once the corrective weight is in place, restart the rotor and measure the remaining vibration amplitude.
- The balancing procedure is finished if the remaining vibration is within the permissible limits specified in ISO 1940.
- Should the vibration still be excessive, repeat the balancing steps, making further adjustments to the corrective weight as needed.
Creating a Balancing Report
- All balancing results are logged and archived within the software, from which you can produce a printable report summarizing the vibration levels, compensating weight, and its installation position.
Post-Balancing Checklist
- Ensure all applied weights and attached sensors are firmly fixed in their designated positions.
- Check that the rotor's rotation is smooth and free from undue noise or vibration.
- If the rotor is part of a complex mechanism, verify the proper interaction of all its components.
Following this procedure enables accurate balancing, minimizes vibration, and prolongs the service life of the equipment.
Instagram: https://www.instagram.com/vibromera_ou/
Youtube : https://youtu.be/guA6XJ-ArZM?si=vmkuX7RILzKBl0zL
Our website about Vibration control in semiconductor manufacturing
Machinio: https://www.machinio.com/listings/98380186-portable-balancer-vibration-analyzer-balanset-1a-full-kit-in-portugal
Facebook: https://www.facebook.com/marketplace/item/350151228150722
|
|
|
|
|
|